Manual:The Dude/Interface: Difference between revisions
| Line 47: | Line 47: | ||
* '''Tools''' - Configures the tools that can be run on each device (ie. connect with winbox, telnet, ftp etc.) | * '''Tools''' - Configures the tools that can be run on each device (ie. connect with winbox, telnet, ftp etc.) | ||
= | = Main pane= | ||
[[File:Map.jpg]] | [[File:Map.jpg]] | ||
The main pane of the | The main pane can contain one or several sections. Double clicking a menu item on the left replaces the active part of the main pane with the selected item. It's also possible to change the contents of the main pane by choosing an item from the dropdown. | ||
The | When first opening The Dude, the main pane of the Dude window is occupied by the '''device map'''. The map shows graphical layout of your network. If you used [[The Dude/Device discovery|device discovery]] earlier, it will already be populated by devices in your network, but it is also possible to add devices one by one, by using the Add button. | ||
More about the [[The Dude/Device map|Device map]] | |||
= Server settings = | = Server settings = | ||
Revision as of 08:43, 5 July 2010
Panes
The main Dude window is split into sections, called Panes. When first opening The Dude you will see the main Window frame with Server setting buttons, the Menu pane and the Main Pane, which is by default occupied by the Map pane. The Map pane can be either split into parts, or replaced by any other pane.
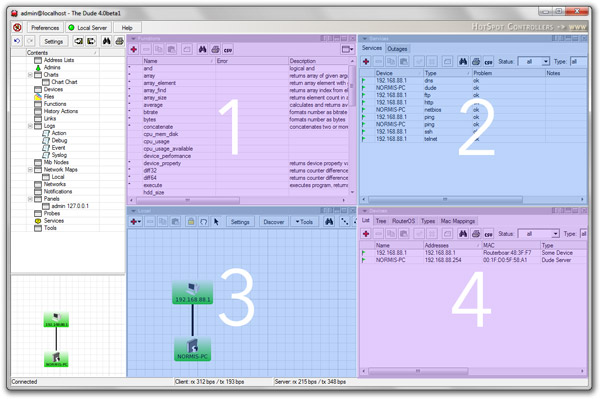
For example, the following image shows the Dude interface with the main pane split into four panes. Each pane can contain any item from the menu pane on the left:
The simplest way to open another pane instead of the map, is to click one of the items in the Menu pane. It is also possible to use the Dropdown menu in each panes top left corner.
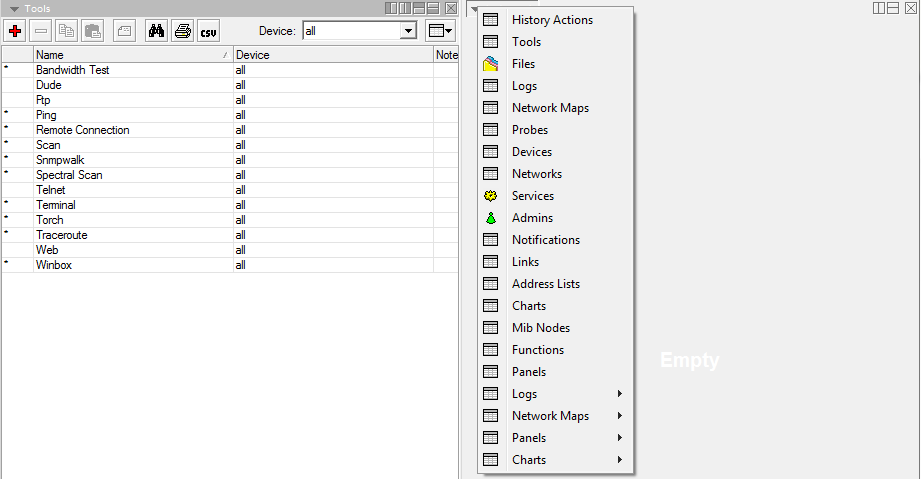
Each window pane can be split either horizontally or vertically, and each split section can then be populated by any of the possible Menu pane items. The bar on the top of each frame contains a dropdown list of possible pane contents, and buttons to split the pane into sections:
It is also possible to drag items from the Menu pane onto one of the open Panes on the right.
If your system has multiple monitors connected, you can even separate the Panes from the main Dude window, and float them on other screens. This can be done in the Panels window, in the Menu pane.
Menu pane
The menu pane in the left side of the Dude interface provides access to various panes. You can either double click a menu item to open it in the default pane on the right, or if you have multiple panes open, you can also drag an item from the menu pane to one of the open panes.
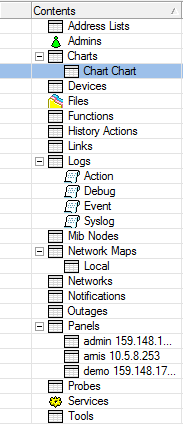
- Address lists - Lists of IP addresses to be used in Blocklist and other places
- Admins - Users who can access this particular Dude server
- Charts - Configure graphs based on any data source in the map
- Devices - List of all the devices drawn on any of the network maps
- Files - List of the files uploaded to the server, like images for network map backgrounds and sounds
- Functions - Functions that can be used, includes scripts and advanced queries
- History Actions - History of tasks performed by the admin, like adding or removing devices. Admin log.
- Links - List of all links in all maps.
- Logs - Logs of device statuses. Dude also includes a Syslog server, and can receive Logs from other devices.
- MIB nodes - Information about MIBs
- Network maps - All maps
- Networks - List of all network segments places on the map
- Notifications - Different ways to alert the admin of
- Panels - Allows to configure separate dude window entities for use on multiple monitors or otherwise
- Probes - Probes are responsible for polling specific services on the defices
- Services - Lists the currently monitored services on all devices
- Tools - Configures the tools that can be run on each device (ie. connect with winbox, telnet, ftp etc.)
Main pane
The main pane can contain one or several sections. Double clicking a menu item on the left replaces the active part of the main pane with the selected item. It's also possible to change the contents of the main pane by choosing an item from the dropdown.
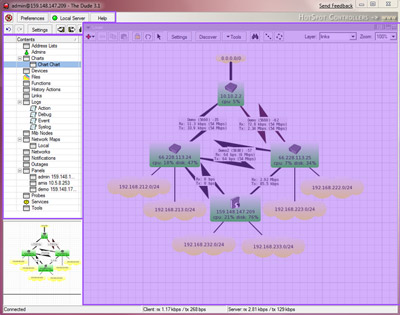
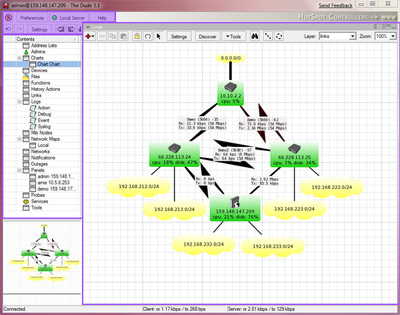
When first opening The Dude, the main pane of the Dude window is occupied by the device map. The map shows graphical layout of your network. If you used device discovery earlier, it will already be populated by devices in your network, but it is also possible to add devices one by one, by using the Add button.
More about the Device map
Server settings
The server settings panel is located in the top-left corner of the Dude interface. It contains the following buttons:
- Connect/Disconnect - Connects to a Dude server (including Localhost) or disconnects from it
- Preferences - general Dude preferences
- Local server - local server settings
- Help - link to this webpage
- Undo/Redo - allows to undo or redo the last action
- Settings' - settings of the currently connected server
- Export/Import - allows to save, or load Dude configuration files
Preferences
- Auto connect at startup self explanatory
- Auto reconnect if connection is lost - self explanatory
- Appear only inside tray when minimised - do not show Dude in Windows task bar
- Hide tray icon (deselected by default) - hide Dude from tray
- Status Bar - Show bottom status bar
- Language - can change language of The Dude interface
Local server
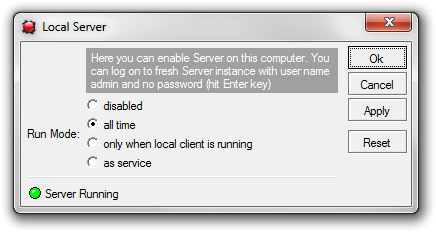
Local server is the instance on your Windows PC which is used by default when opening the Dude program (It connects to the Localhost server). If you plan to scan and manage devices from another machine, and only use the Dude application to connect to a remote host, you can disable the local server.
- Disabled - Local server is disabled at all times
- All time - Local server is enabled always
- Only when local client is running - self explanatory
- As service - run the Dude local server as a windows service
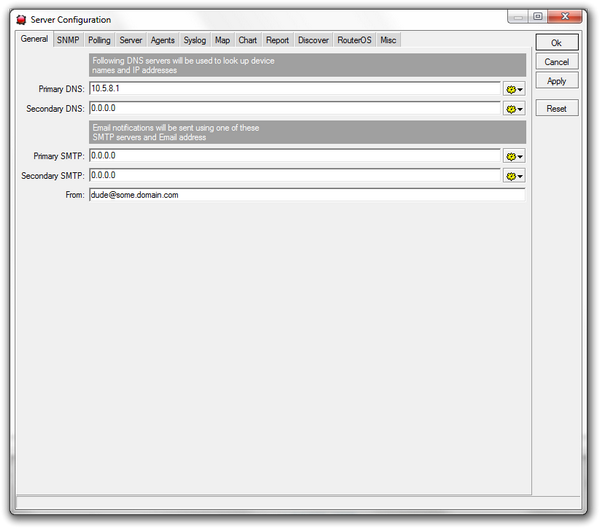
Server settings
Allows configuration of various aspects of the currently connected server. More specific explanation of all the options in the The Dude/Server Settings article.
