Manual:CHR VMWare installation: Difference between revisions
Jump to navigation
Jump to search
No edit summary |
No edit summary |
||
| Line 5: | Line 5: | ||
* Step 2: | * Step 2: | ||
[[File:CHR_VMWare_2.png | 600px | VMWare ]] | [[File:CHR_VMWare_2.png | 600px | VMWare ]] | ||
* Step 3: | * Step 3: Choose existing virtual disk | ||
[[File:CHR_VMWare_3.png | 600px | VMWare ]] | [[File:CHR_VMWare_3.png | 600px | VMWare ]] | ||
* Step 4: | * Step 4: Select the file you downloaded from [http://www.mikrotik.com/download mikrotik.com download page] | ||
[[File:CHR_VMWare_4.png | 600px | VMWare ]] | [[File:CHR_VMWare_4.png | 600px | VMWare ]] | ||
* Step 5: | * Step 5: | ||
Revision as of 11:00, 9 December 2015
How to Install Cloud Hosted Router on VMWare Fusion
Create a new virtual machine
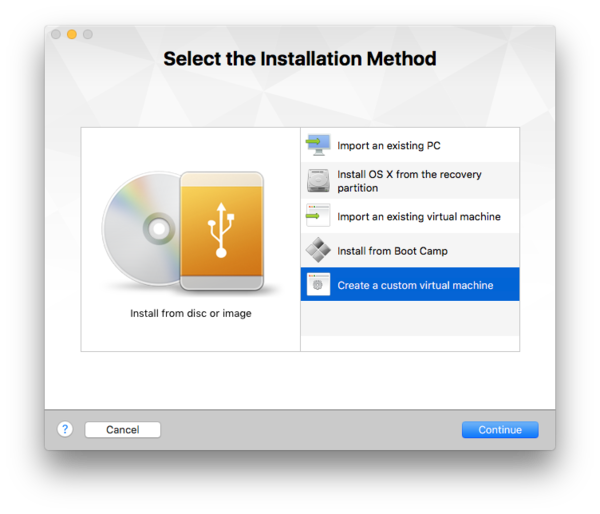
- Step 1:
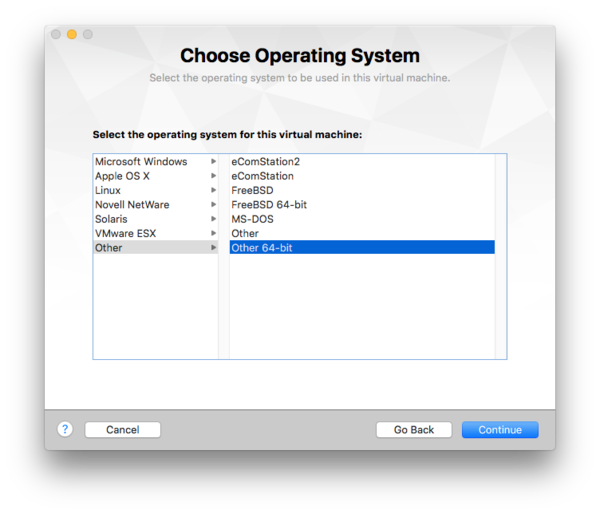
- Step 2:
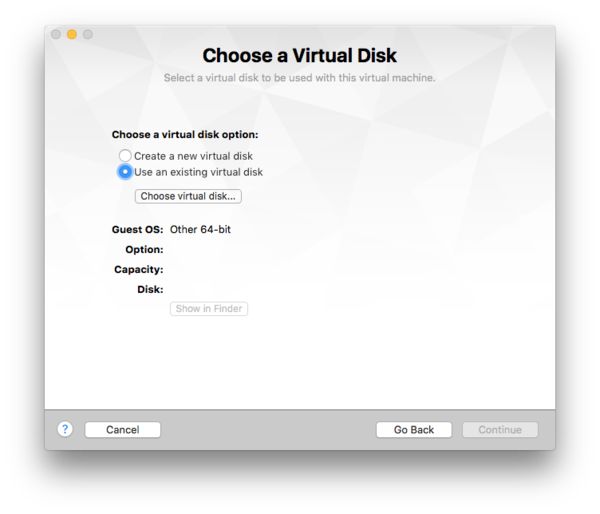
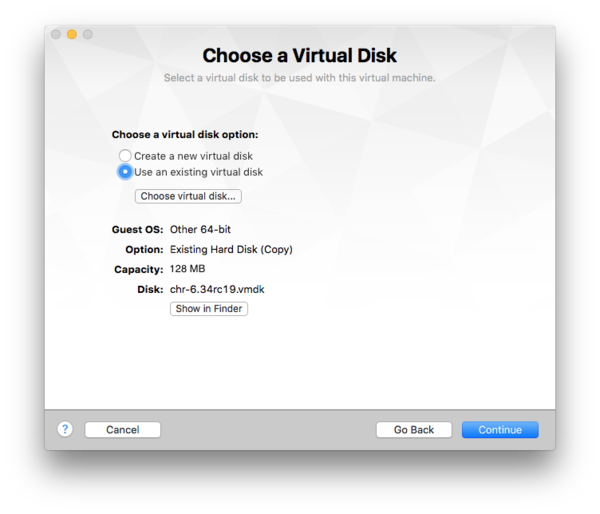
- Step 3: Choose existing virtual disk
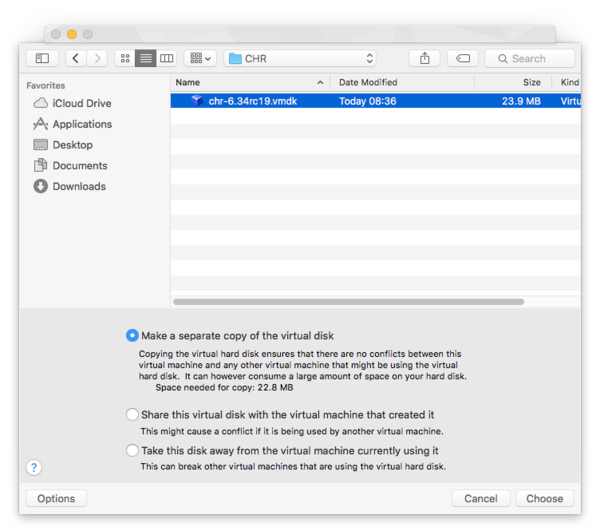
- Step 4: Select the file you downloaded from mikrotik.com download page
- Step 5:
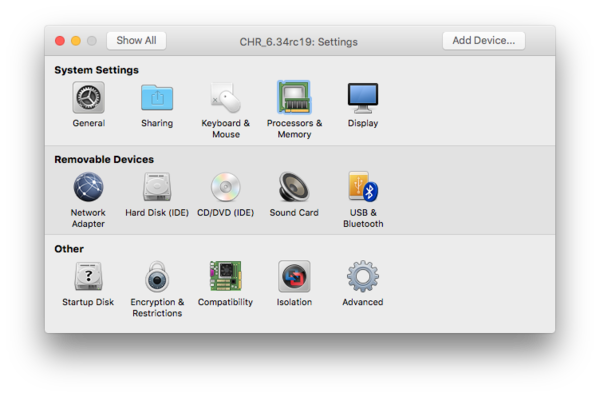
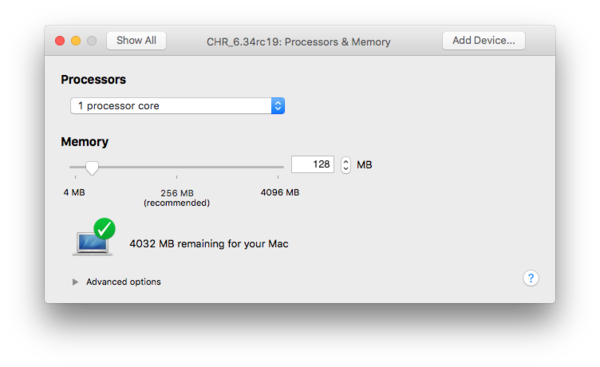
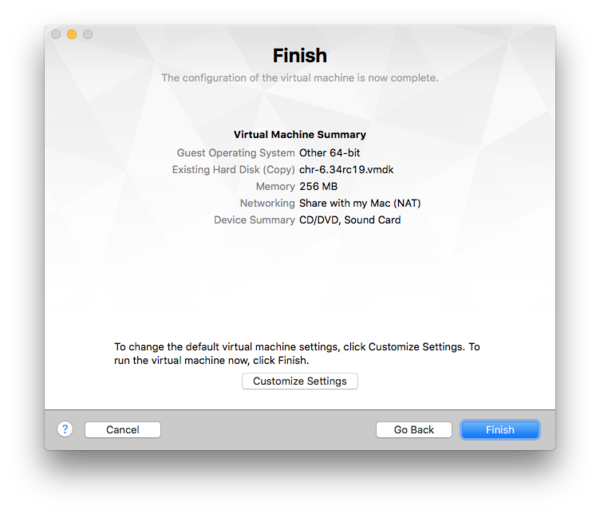
- Step 6: By default VMWare uses 256MB RAM, adjust the size if needed, any size starting from 32MB can be used for RouterOS
- Step 7: Adjust the size of the RAM
- Step 8:
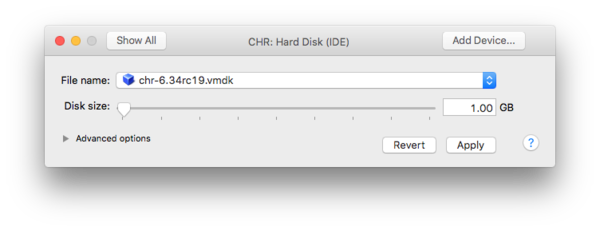
- Step 9: By default CHR disk image is 64MB. If bigger storage is desired, you can expand the virtual hard drive. Choose Customize Settings to do so. NOTE. IT MUST BE DONE BEFORE 1st RUN.
- Step 10: Choose Hard Disk and set the new disk size
- Step 11:
