Manual:CHR VirtualBox installation: Difference between revisions
Jump to navigation
Jump to search
| Line 14: | Line 14: | ||
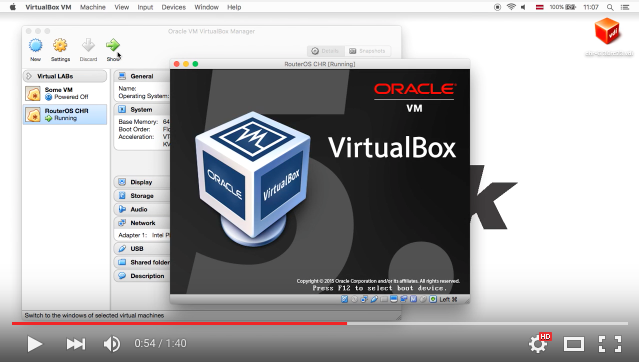
* Step 5: The overview of the virtual guest configuration | * Step 5: The overview of the virtual guest configuration | ||
[[File:vbox5.png | 600px | Virtualbox]] | [[File:vbox5.png | 600px | Virtualbox]] | ||
* Step 6: CHR starts self-installing procedure. It is possible to change disk image size using command line tools provided by VirtualBox. CHR as a result with be installed on larger image than the default | * Step 6: CHR starts self-installing procedure. It is possible to change disk image size using command line tools provided by VirtualBox. CHR as a result with be installed on larger image than the default 128MiB | ||
[[File:vbox6.png | 600px | Virtualbox]] | [[File:vbox6.png | 600px | Virtualbox]] | ||
* Step 7: CHR starting up after successful installation | * Step 7: CHR starting up after successful installation | ||
Revision as of 14:08, 29 January 2016
Create a new virtual machine
Video instruction
Step by Step Instruction
- Step 1: Open VirtualBox management windows

- Step 2: Create new guest, select Other linux (64bit)

- Step 3: Select amount of RAM, minimal value that can be used is around 32MB

- Step 4: Select *.vdi image downloaded from the download server

- Step 5: The overview of the virtual guest configuration

- Step 6: CHR starts self-installing procedure. It is possible to change disk image size using command line tools provided by VirtualBox. CHR as a result with be installed on larger image than the default 128MiB

- Step 7: CHR starting up after successful installation

- Step 8:CHR login prompt in virtual console.
